Remove Image Backgrounds in Seconds
Instantly remove backgrounds from your images with AI precision. No manual editing, no skills needed. Perfect for e-commerce, social media, and professional designs.
How It Works
Upload Image
Drag & drop or select your image file
AI Processing
Automatic background removal with AI
Customize
Add color or background image
Download
Save your result as PNG or JPG
Drag & Drop Your Image Here
or click to browse files
Before & After Comparison
Why Choose Our Background Remover?
Lightning Fast
Process multiple images in seconds with our optimized AI
Precision Edges
Perfect detection of fine details like hair and fur
Creative Options
Apply colors, gradients, or custom images as backgrounds
Mobile Friendly
Works seamlessly on desktop, tablet, and mobile
100% Private
Your images are processed securely and never stored
No Sign-up
Start removing backgrounds immediately for free
Complete Guide to Background Removal
📸 What is Background Removal?
Background removal is the process of separating the main subject of an image from its background and making that background transparent or replaceable. With traditional image editing software like Photoshop, this required hours of manual work using selection tools like the Magic Wand, Lasso, or Pen Tool. However, modern AI-powered tools can now accomplish this in mere seconds with minimal effort.
Our Background Remover uses advanced deep learning algorithms trained on millions of images to instantly detect what's in focus (the subject) and what's just scenery (the background). Whether it's a person, product, animal, or object, the AI learns to distinguish between them with remarkable accuracy.
🤖 How AI-Powered Background Removal Works
AI background removal relies on three key technologies:
- Semantic Segmentation: The AI analyzes every pixel in your image and classifies it as either "subject" or "background." This is done using convolutional neural networks (CNNs) trained on thousands of diverse images.
- Instance Segmentation: If there are multiple objects, the AI identifies each one separately, allowing you to remove only specific backgrounds.
- Alpha Channel Masking: Once segmentation is complete, the AI applies transparency (alpha channel) to the background pixels, creating a PNG with a transparent background.
- Edge Refinement: Post-processing algorithms smooth and refine edges, especially important for complex details like hair, fur, or fabric textures.
✨ Real-World Applications & Use Cases
E-commerce & Product Photography: Online retailers use background removal extensively. A clean white, transparent, or themed background makes products stand out, improves photo consistency, and enhances professional appearance. Studies show that high-quality product photos increase conversion rates by up to 40%.
Social Media & Content Creation: Influencers, TikTokers, and content creators use background removal to create eye-catching posts. Remove boring office backgrounds from remote work videos, replace webcam backgrounds, or create composite images for creative storytelling.
Graphic Design & Marketing: Designers save hours by using AI background removal instead of manual selection. Create posters, flyers, banners, and advertisements faster. Combine multiple product images on themed backgrounds for promotional materials.
ID Cards & Passports: Government and organizational ID photos require specific backgrounds. Our tool instantly creates compliant ID photos by removing and replacing backgrounds to standard specifications.
Real Estate Photography: Property listings benefit from clean, professional images. Remove distracting objects or replace gloomy skies with better weather backdrops to showcase properties more attractively.
🎨 Background Customization Options
Once you've removed the background, you have multiple options:
Transparent Background (PNG): Perfect for web design, graphic overlays, or further editing. The transparent background allows your subject to be placed on any background.
Solid Color Background: Professional and clean. Choose any color that matches your brand or design aesthetic. White backgrounds are popular for product photography.
Gradient Background: Eye-catching and modern. Gradients add visual interest while keeping focus on your subject. Use complementary colors for maximum impact.
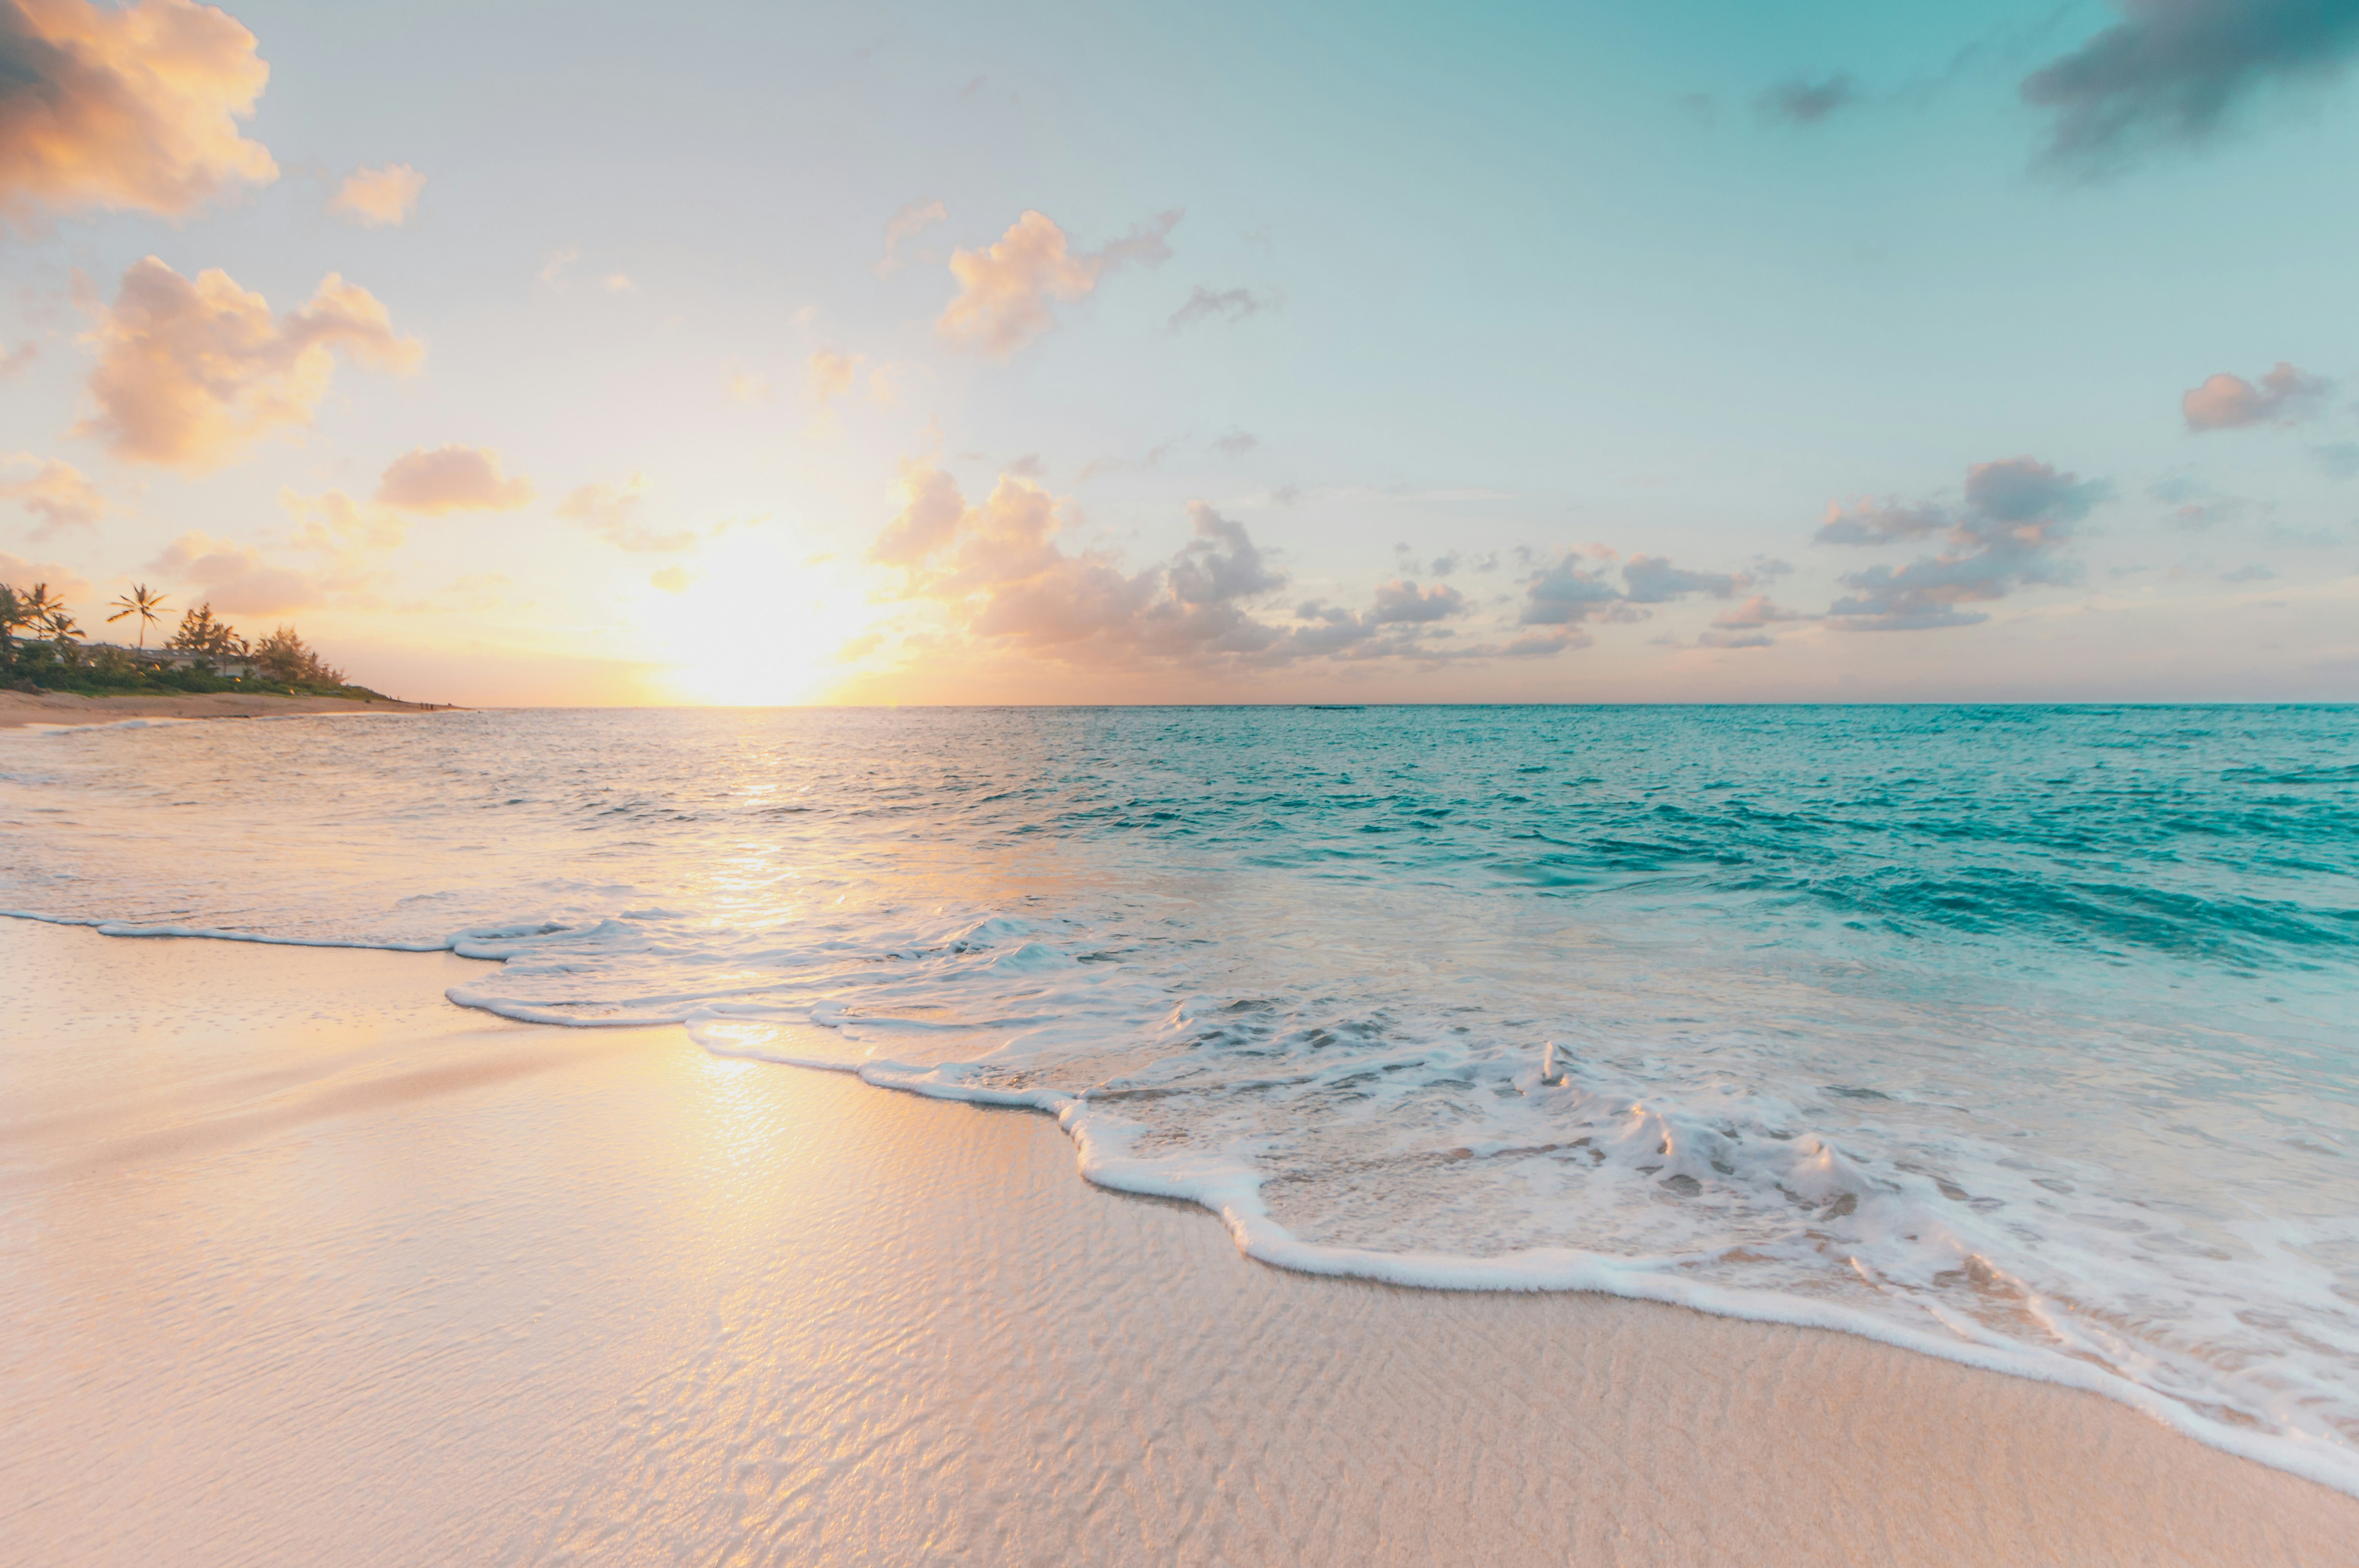
Custom Image Background: Upload your own image—a beach scene for vacation photos, an office for professional headshots, or a studio setting for product shots. The possibilities are endless.
📊 Before & After Results: Real Examples
Let's look at actual examples of background removal transformations:
| Original Image | Scenario | Background Removed | With New Background |
|---|---|---|---|
| Product on cluttered desk | E-commerce | Transparent PNG | On white or gradient |
| Person in office | Headshot | Transparent PNG | Professional blue background |
| Object with shadow | Product Photo | Transparent PNG | Placed on themed background |
| Portrait with busy park | Social Media | Transparent PNG | On beach or sunset gradient |
💡 Pro Tips for Perfect Results
Lighting & Image Quality: Higher quality source images produce better results. Ensure your subject is well-lit and in focus. Avoid blurry, underexposed, or overexposed images.
Subject Contrast: The more distinct your subject is from the background, the better the AI performs. A person against a solid color wall is easier to process than a person in a forest.
Complex Details: Hair, transparent materials (glass, fabric), and fur are handled well but may benefit from fine-tuning. Our tool includes manual refinement options for tricky edges.
Color Bleeding Prevention: Ensure your subject's color doesn't closely match the background to avoid accidental removal of important parts.
Save in Right Format: Use PNG for transparent backgrounds (web design, graphics). Use JPG for solid backgrounds (printing, email, social media).
❓ Frequently Asked Questions
Can the tool handle complex details like hair?
Yes! Our AI excels at detecting fine edges. Hair, fur, facial hair, and clothing textures are processed with precision. However, extremely thin hair strands might need manual refinement.
What file formats are supported?
We accept JPG, PNG, WebP, and GIF. The output can be PNG (transparent) or JPG (with background). File size limit is 50MB.
How long does processing take?
Most images process in 2-5 seconds. Very high-resolution images (8K+) might take slightly longer.
Is my image data private?
Absolutely. Images are processed in real-time on our servers and are not stored or used for any other purpose. We comply with GDPR and privacy regulations.
Can I remove backgrounds from multiple images at once?
Currently, we process one image at a time through our web interface. However, our API supports batch processing for enterprise users.
What's the best background to choose for e-commerce?
White or light gray backgrounds are industry standard for product photography as they're neutral and professional. However, some brands use colored or gradient backgrounds to stand out.
🚀 Getting Started: Step-by-Step
Step 1 - Prepare Your Image: Choose a clear, well-lit image with good contrast between subject and background.
Step 2 - Upload: Drag & drop or click to upload your image to our tool.
Step 3 - Wait for Processing: Our AI processes your image within seconds.
Step 4 - Customize: Choose a solid color, gradient, or upload a custom background image.
Step 5 - Preview: Use the before/after slider to compare results.
Step 6 - Download: Save your result as PNG (transparent) or JPG (with background).
📈 Benefits Over Manual Editing
| Aspect | Manual Editing (Photoshop) | Our AI Tool |
|---|---|---|
| Time per image | 15-60 minutes | 2-5 seconds |
| Skill required | Expert level | None - fully automated |
| Consistency | Varies with operator | Always perfect |
| Cost per image | $10-50 (freelancer) | Free |
| Learning curve | Weeks to months | Minutes |
✅ Conclusion
Background removal is no longer the domain of professional photographers and designers. With modern AI tools like CutCompress Background Remover, anyone can create professional-quality images in seconds. Whether you're an e-commerce seller, content creator, designer, or casual user, our tool empowers you to take control of your visual content. Start removing backgrounds today and see how it transforms your images, your workflow, and your creative possibilities.
Introduction to Background Removal
Background removal is one of the most popular image editing tasks in today’s digital world. Whether you’re a content creator, designer, e-commerce seller, or casual user, the ability to remove and replace backgrounds instantly can save hours of editing.
Traditionally, background removal required complex software like Photoshop and manual selection tools. But with AI-powered tools like Cutcompress Background Remove, it takes only a few seconds.
How Background Removal Works
AI-powered background removal relies on deep learning models trained on millions of images. These models detect the subject of a photo (people, objects, animals, etc.) and separate it from the background.
Tech Behind It
- Segmentation Models: Divides image into subject & background.
- Alpha Masking: Applies transparency to remove background.
- Post-processing: Preserves fine edges like hair/fur.
Use Cases of Background Removal
- E-commerce: Product photos with clean backgrounds.
- Social Media: Creative posts with themed backdrops.
- Graphic Design: Easy cutouts for posters, flyers, ads.
- Photography: Quick editing for portraits & ID photos.
Step-by-Step Guide: Using Cutcompress
- Open the Background Remove tool.
- Upload your image (drag & drop or click to upload).
- AI removes the background automatically.
- Select a background (color, preset, or upload custom).
- Click Download to save your new image.
Tips & Tricks for Better Results
- Use high-resolution images for accuracy.
- Avoid cluttered or busy backgrounds.
- Ensure good lighting for portraits.
- Experiment with background colors & textures.
- Use transparent PNG for flexible design use.